(If you like this post, you might also like Using Zapier to import GitHub issues into OmniFocus.)
I use OmniFocus for personal task-tracking and Zapier to automate work when possible.
One way I use these two tools in combination is to automatically create tasks when a new event is created on my work calendars.
The two tasks look like this:
- Meeting Prep: Call with Robert Smith, with a due date the day before the meeting is schedule.
- Call with Robert Smith, with a due date the date the meeting is scheduled.
In OmniFocus this looks something like:

The reasons I create two tasks in OmniFocus is because I use a few applescripts to generate daily and weekly task reports and forecasts and I like to have a record of my meetings as well as the prep work I do for them in those reports.
What you need to setup this integration:
- Zapier account
- OmniFocus Pro (desktop)
- OmniSync with Mail Drop configured
- ParseInbox applescript (mine, original)
Optional tools include Hazel or Lingon to automate the running of the ParseInbox applescript.
Before I continue, thank you to Joe Buhling for sharing his collection of OmniFocus scripts!
Part 1: Create Zap
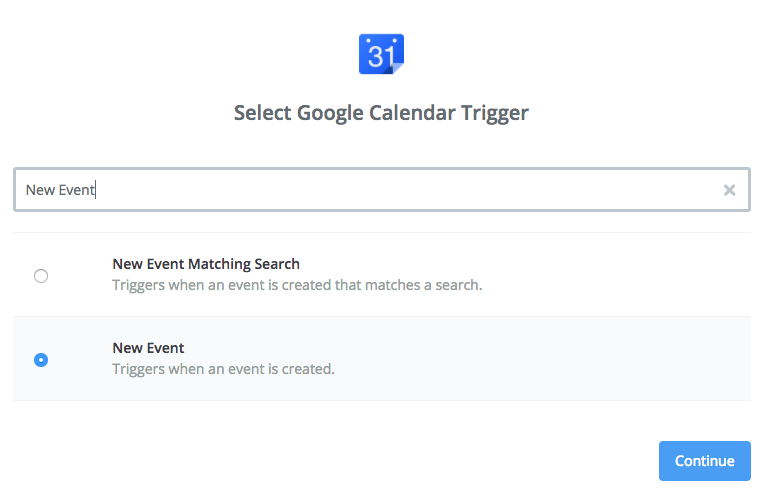
Step 1: Google Calendar app, New Event trigger
First, select the Google Calendar app and the New Event trigger:
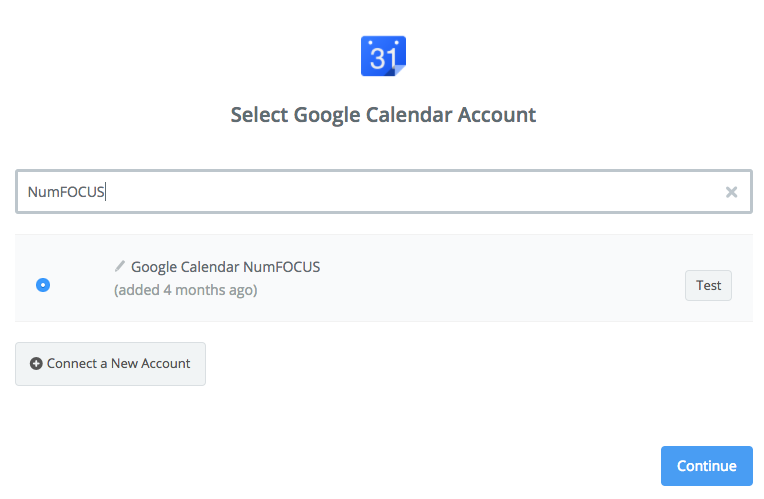
Next you’ll need to configure the connection to your Google account (if you haven’t already):
Then you’ll select the specific calendar from which to retrieve new events:
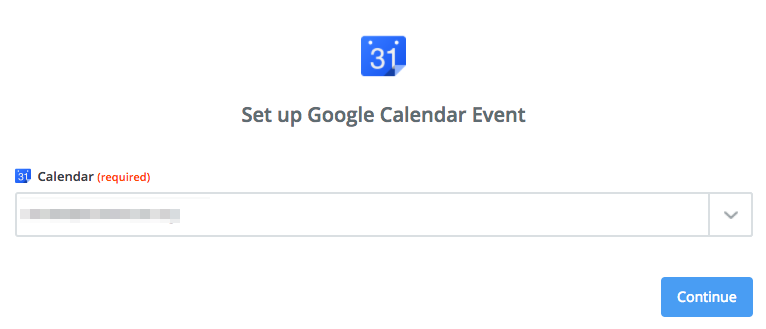
That’s it for this step. Don’t forget to test the step before moving on to be sure you can retrieve an event.
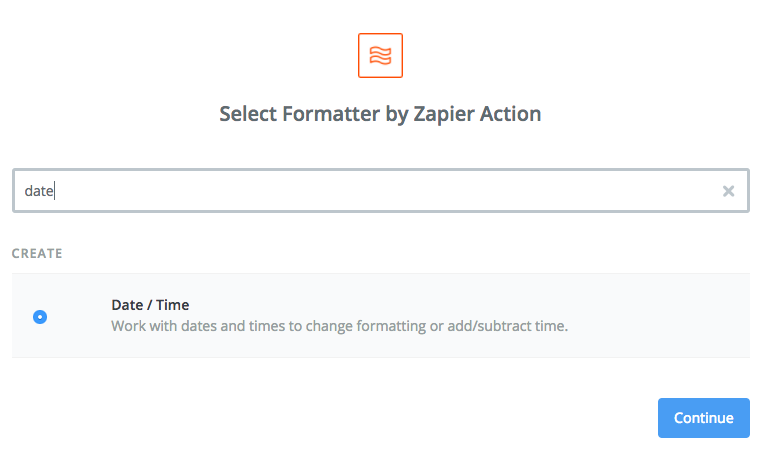
Step 2: Formatter app, Date/Time trigger
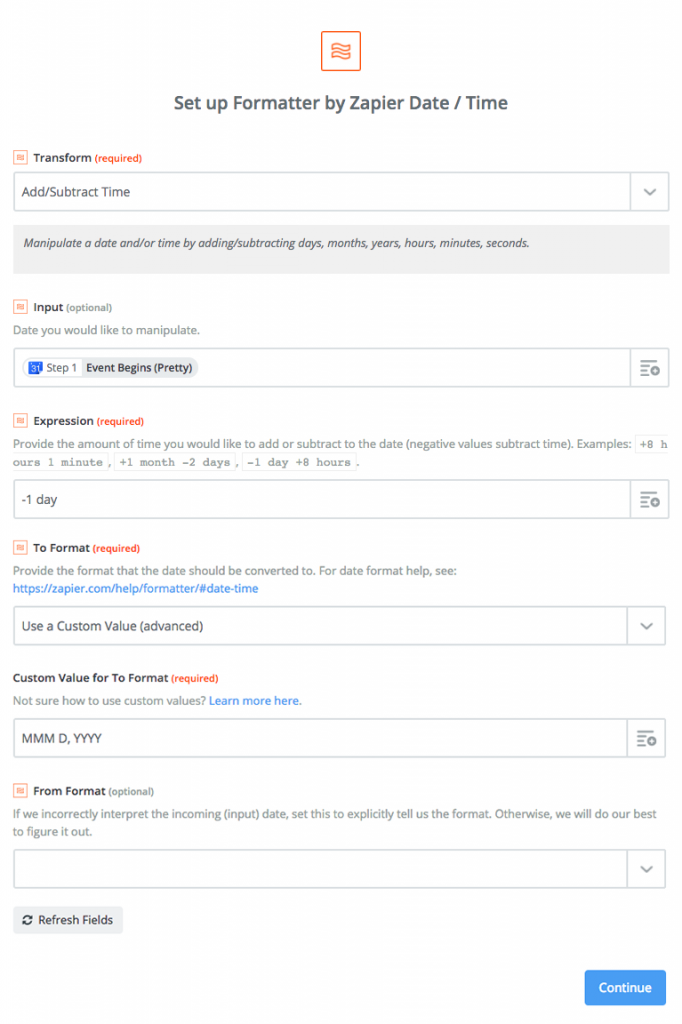
In this step, we’ll take the start date of the meeting and subtract one day to get the due date for our Meeting Prep task.
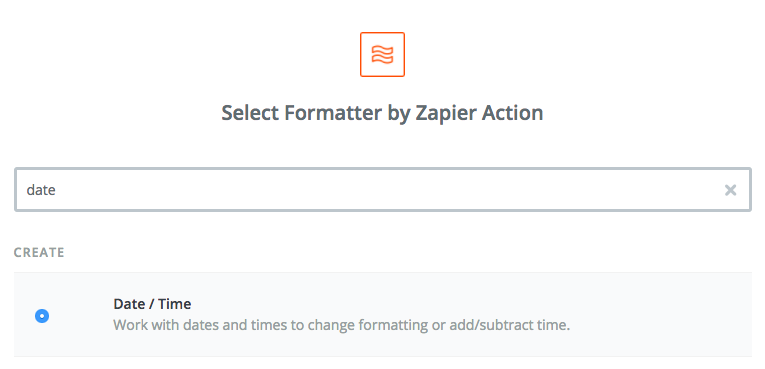
Select the Formatter by Zapier app and the Date/Time trigger:
Next, you’ll set the following fields:
- Transform: Add/Subtract Time
- Input: Step 1 Event Begins (Pretty)
- Expression: -1 day
- To Format: Use a Custom Value (advanced)
- Custom Value for To Format: MMM D, YYYY
(The script I’m using to parse OmniFocus Inbox items doesn’t handle date formats with times well which is why in this step we’re also formatting the date as MMM D, YYYY.)
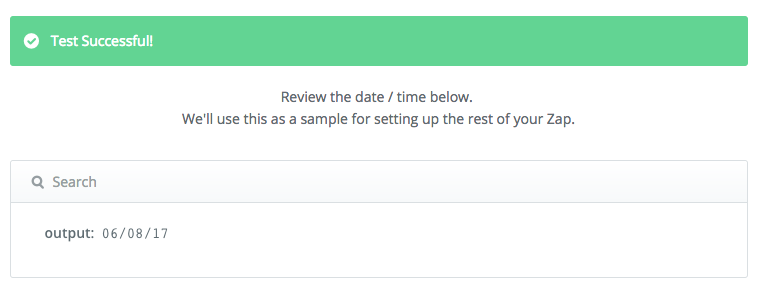
Continue and be sure to test the step before moving on to the next one. The output should look something like:
Jun 8, 2017
Step 3: Formatter app, Date/Time trigger
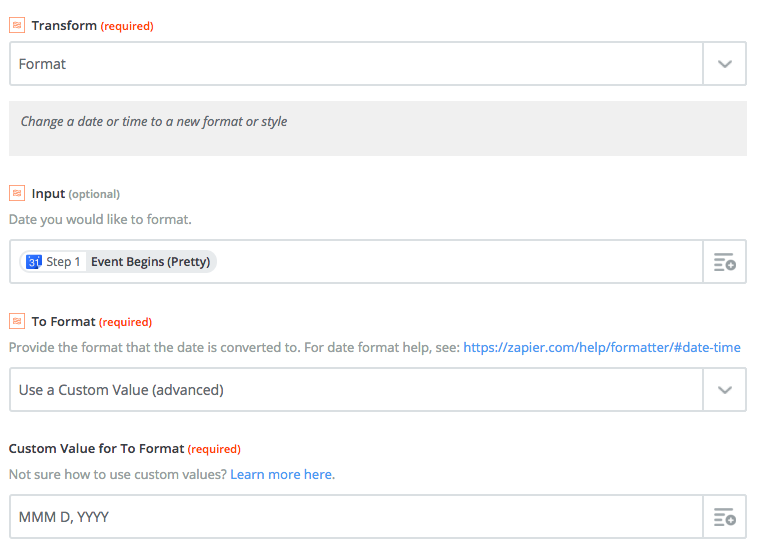
This step is similar to Step 2 except that we aren’t going to modify the date, just format it so it works with the script we’ll use to parse our OmniFocus Inbox.
Select the Formatter by Zapier app and the Date/Time trigger as before. This time you’ll select Format as the Transform value:
- Transform: Format
- Input: Step 1 Event Begins (Pretty)
- To Format: Use a Custom Value (advanced)
- Custom Value for To Format: MMM D, YYYY
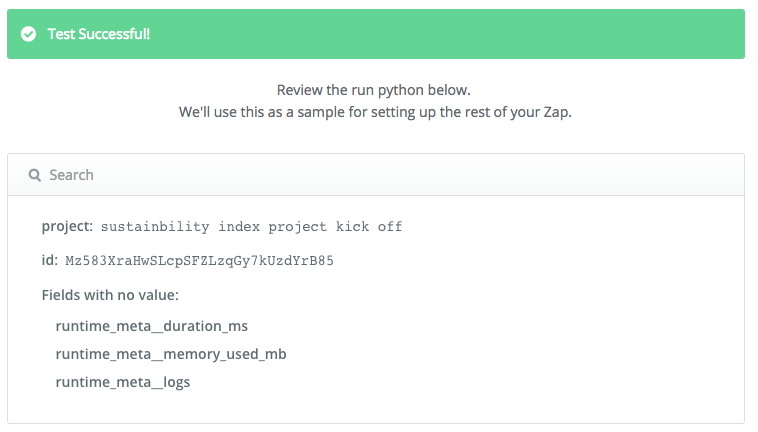
Continue and be sure to test the step before moving on to the next one. The output should look something like:
Jun 8, 2017
Step 4: OmniFocus app, Create Task action
In this step we’ll create the first of our two tasks, this one for Meeting Prep.
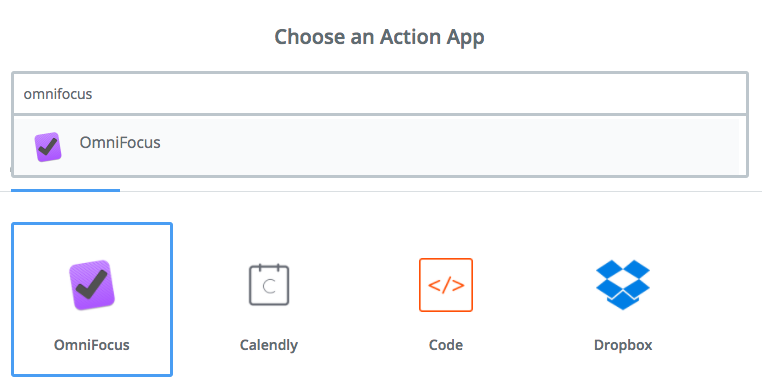
First, select the OmniFocus app:
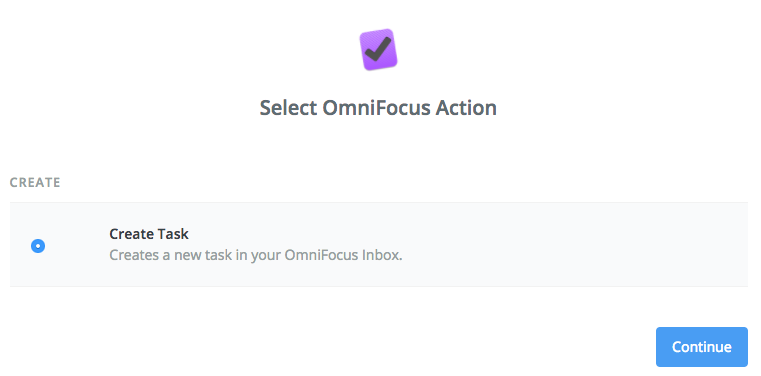
Now select the Create Task action for the OmniFocus app:
Next you’ll need to connect your OmniFocus account if you haven’t already and select which connection you’d like to use.
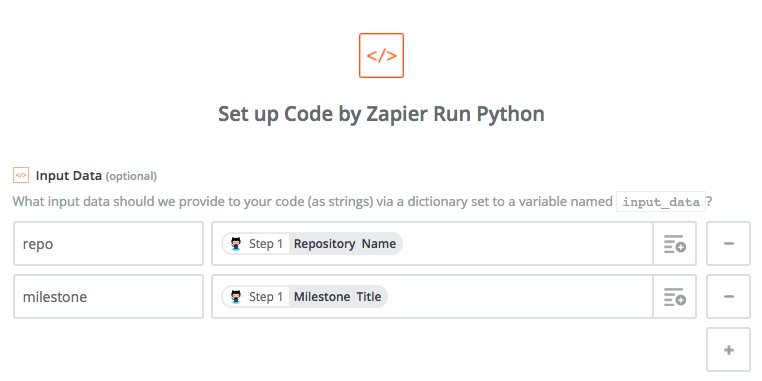
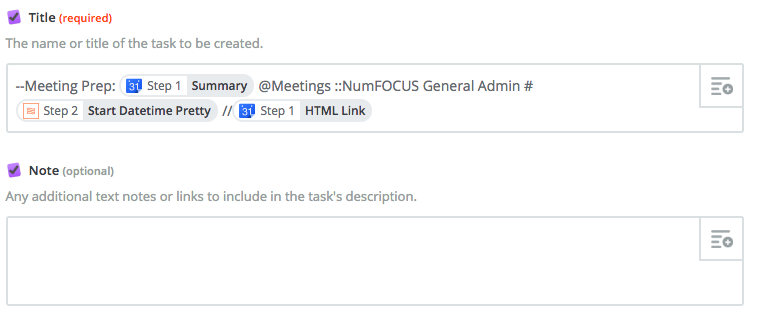
Next, set up the create task action. You’ll configure only the Title field as such:
--Meeting Prep: Step 1 Summary @Meeting Prep ::Project name #Step 2 Start Datetime Pretty //Step 1 HTML Link
Let’s break this down:
- The
--sets the name of the task. - The
@sets the context. - The
::sets the the name of the project. - The
#sets the due date. - The
//sets the text of the note.
Two notes:
- The name of the project is fuzzy matched against flatted name of folders and projects, so you don’t need to use a colon between folder and project name.
- With the applescript I’m using to parse OmniFocus’ Inbox, I had trouble with dates including time, so this is why I simplify the due date format in Step 2 and 3 of the Zap.
For details on the syntax used for parsing the inbox, see this post.
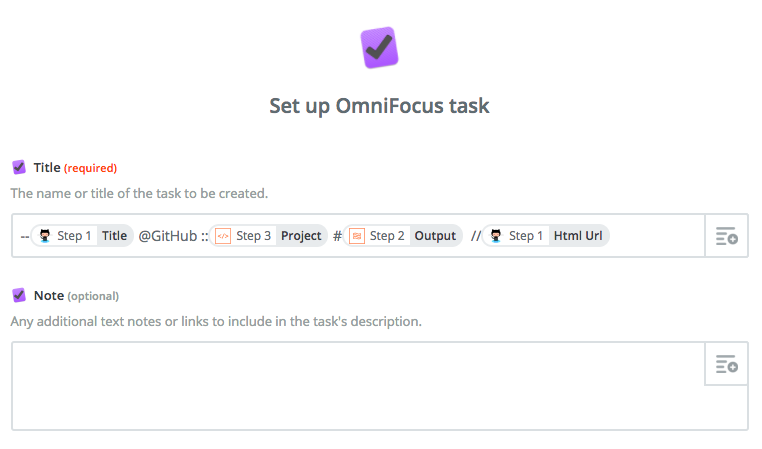
Here’s what the the task looks like in Zapier:
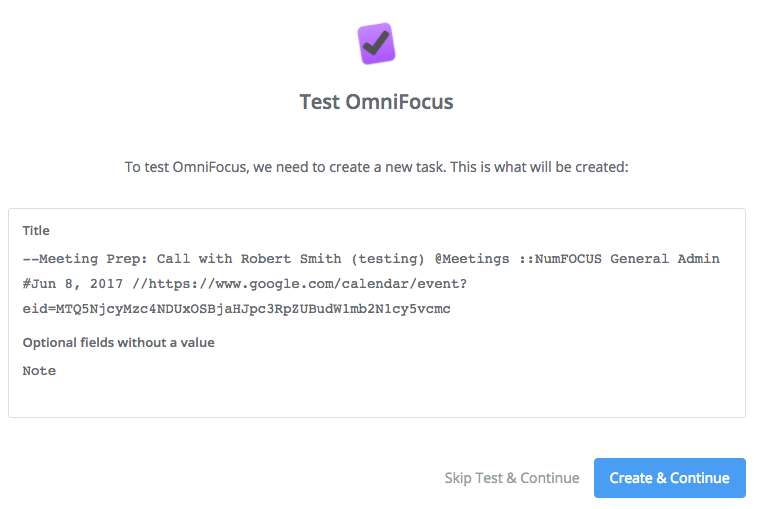
As always, test the action before proceeding to make sure everything looks right before continuing on. You test should look something like this:
Step 5: OmniFocus app, Create Task action
In this step we’ll create the second of our two tasks, this one for the meeting itself.
As in Step 4, select the OmniFocus app and Create Task action.
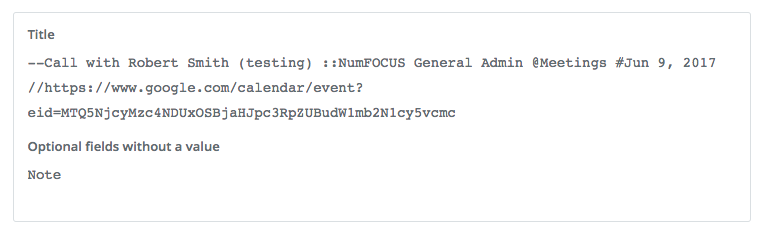
The Title field for this Create Task action is slight different as is the due date:
--Step 1 Summary @Meetings ::Project name #Step 3 Start Datetime Pretty //Step 1 HTML Link
Here’s what it looks like in Zapier:

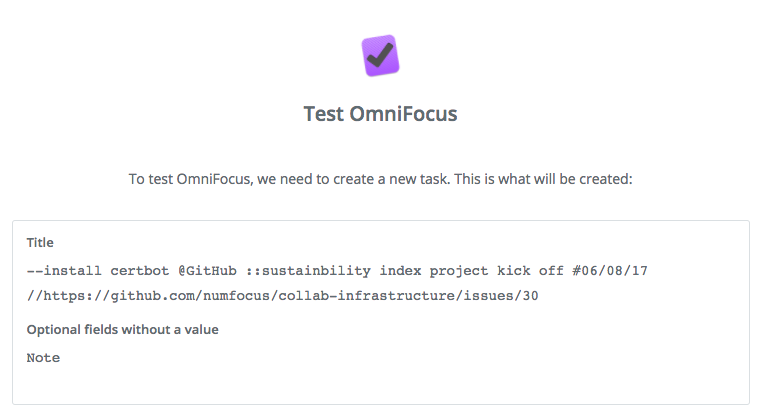
Next, test the action before proceeding to make sure everything looks right before continuing on. Your output should look something like this:
Part 2: Parsing tasks in OmniFocus’ Inbox
Step 1: Manually run the ParseInbox script
For this part, if you haven’t already, you’ll want to grab a copy of the AutoParser scripts from either the original author or myself.
The repositories linked to above contain a collection of applescripts for use with OmniFocus. (Thank you Joe Buhling for putting these together!)
There are two main options for running the script manually.
Option 1: You can run any of the scripts from the command line with the osascript command:
/usr/bin/osascript "/Users/christie/Bin/OFScripts/Auto-Parser/ParseInbox.applescript"
Option 2: If you don’t want to use the command line to run scripts, you can copy the ParseInbox.applescript into OmniFocus’ scripts folder. To find out where this is, go to Help > Open Scripts Folder in OmniFocus and it will open a new finder window at that location. Once you do this, you’ll see Script: ParseInbox as an option in the View > Customize Toolbar… window. Drag this icon to your toolbar for ease of use.
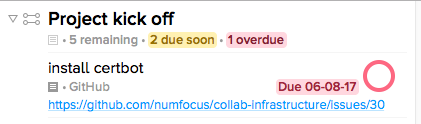
When you run the ParseInbox script, it will transform the Inbox task Zapier created that looks like this:
--install certbot @GitHub ::sustainbility index project kick off #06/08/17 //https://github.com/numfocus/collab-infrastructure/issues/30
Into the task install certbot, belonging to the project Project Kick Off in the folder Sustainability Index. The task will now have a due date of 6/8/2017, and note text that includes a link back to the original GitHub issue:
If at this point you realize that your Zap isn’t quite configured correctly or exactly how you want it, you can go back and adjust it. And, if you get tired of waiting for OmniFocus to sync with the server to retrieve the new task, just remember you can copy and paste the test output from Step 4 of your Zap.
Step 2 (optional): Automatically running ParseInbox
This step is totally optional and you can skip it if you’re happy manually running the script when you want to parse Inbox items.
However, if you don’t want to have to remember to do this, or if you want OmniFocus to be able to process Inbox items while you’re out and about, then you’ll want to automate it.
There are a few options for doing this. They all require your computer be on, but OmniFocus doesn’t have to be open (the script will open it if closed).
Option 1 is to use Hazel to run the script when your OmniFocus has been updated. Joe explains how to configure this option on his blog here. I had mixed results with this method. The script seemed to run sometime and not others. YMMV.
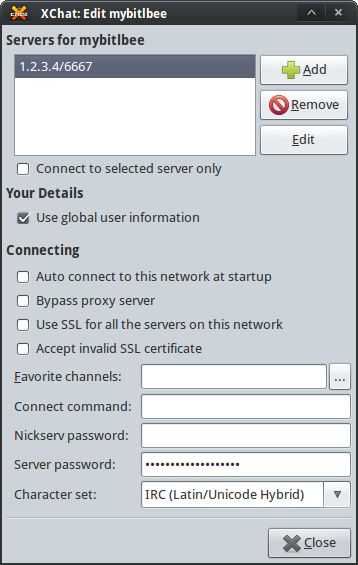
Option 2 is to schedule the script using launchd (macOS’s version of cron). This involves editing plist files, which I hate doing, so I bought Lingon X to make this easy.
Here’s what my settings for Lingon look like:
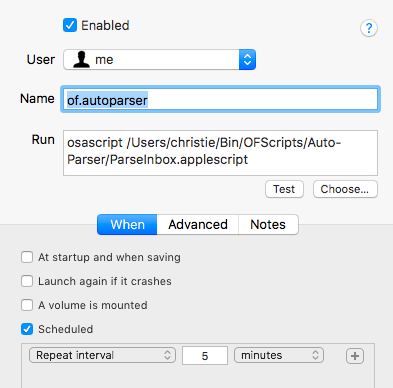
And the plist generated by Lingon looks like this:
<?xml version="1.0" encoding="UTF-8"?>
<!DOCTYPE plist PUBLIC "-//Apple//DTD PLIST 1.0//EN" "http://www.apple.com/DTDs/PropertyList-1.0.dtd">
<plist version="1.0">
<dict>
	<key>EnvironmentVariables</key>
	<dict>
		<key>PATH</key>
		<string>/usr/local/bin:/usr/bin:/bin:/usr/sbin:/sbin:/usr/local/MacGPG2/bin:/usr/local/sbin</string>
	</dict>
	<key>Label</key>
	<string>of.autoparser</string>
	<key>ProgramArguments</key>
	<array>
		<string>/usr/bin/osascript</string>
		<string>/Users/christie/Bin/OFScripts/Auto-Parser/ParseInbox.applescript</string>
	</array>
	<key>StartInterval</key>
	<integer>300</integer>
</dict>
</plist>